
Apple's SHARP turns one photo into a 3D scene in seconds, locally on a Mac
Apple's freely available research model SHARP turns a single photo into a 3D Gaussian splat scene you can rotate freely. A MakeUseOf test shows it runs offline on a MacBook Air in under a minute per image.
What this is about
Apple released SHARP in December 2025, an open research model that creates a photorealistic 3D scene from a single 2D photo. The paper is titled "Sharp Monocular View Synthesis in Less Than a Second." The code is on GitHub and runs from the command line. MakeUseOf has now tried it on an M5 MacBook Air, on November 4, 2026.
How it works
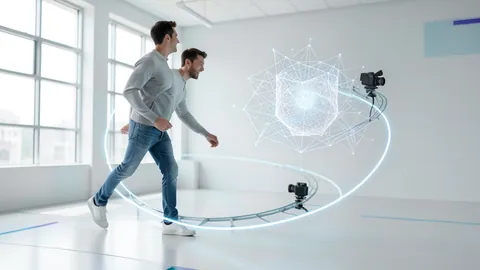
The result is a 3D Gaussian splat. Instead of hard polygons, the scene consists of millions of soft, semi-transparent blobs (ellipsoids with position, size, orientation, color and transparency) that are rendered in real time. The classic approach needs dozens to hundreds of photos from different angles. According to Apple, SHARP predicts the parameters in a single pass through a neural network trained on synthetic and real data. The representation is metric, meaning it has true scale, so a scene can look life-size in a headset. According to MakeUseOf, users were viewing SHARP scenes on the Vision Pro just days after release.
The numbers
According to Apple (via Auganix), "SHARP sets a new state of the art" on several datasets, cuts image quality errors by 25–43%, and renders at over 100 frames per second on a standard GPU. The output is a .ply file, compatible with public splat viewers, in the OpenCV coordinate system. Each scene has about 1.2 million Gaussians in two layers of 768×768.
Limits
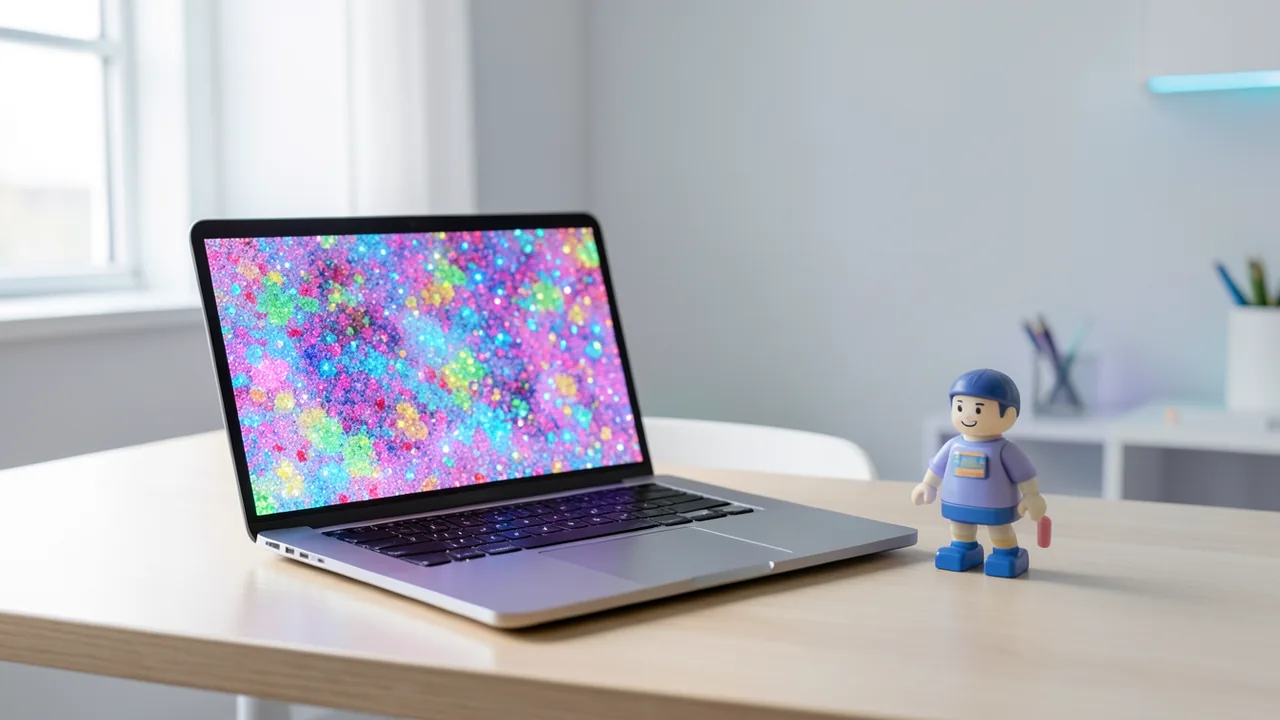
SHARP reliably reproduces only nearby viewpoints, not occluded areas. You can't move far from the original vantage point (Creative Bloq). In the MakeUseOf test, a toy on a desk worked best, a portrait was convincing with smearing behind the head, and a messy photo of a Chihuahua on a couch fell apart into floating layers. The paper names macro shots, starry skies and water reflections as weak spots. It isn't meant for 3D printing; the author points to paid tools such as Meshy for that.
What you need to try it
The test used a MacBook Air with an M5. On Apple Silicon, the CLI automatically uses Metal (MPS). Plan for a little over 2.6 GB for the model and about 66 MB per result. Linux with an Nvidia GPU is also supported. Windows works according to the test but isn't documented. You only need a CUDA graphics card for video rendering (--render).
How setup went in the test
Install Miniconda via Homebrew, clone the repository, create a Python 3.13 environment, run pip install -r requirements.txt, then start sharp predict -i ~/sharp-in -o ~/sharp-out. You open the results in the free browser editor SuperSplat (version 3.7.0 automatically rotated the y-down scenes correctly). SHARP reads the focal length from the EXIF data (default 30 mm), and HEIC files work directly. The test took about two minutes for three images, including model loading.
Our take
SHARP is a free tool that runs offline, for anyone who wants to share photos as 3D scenes for VR or the web. Setup does require terminal skills, though. Competitors such as SpAItial AI's Echo (editable 3D worlds) or paid services are more convenient or target other tasks. The speed and quality claims come from Apple itself, and the MakeUseOf author doesn't yet see a practical use for himself. The sources don't mention the license.
Sources
- Google News (US) makeuseof.com
- creativebloq.com creativebloq.com
- auganix.org auganix.org
- 80.lv 80.lv
Try it yourself: SHARP
Explained step by step, no prior knowledge needed – on your own computer or free in your browser.
What can I do with it?
SHARP turns a single photo into a 3D scene made of Gaussian splats that you can rotate in your browser. It runs entirely locally and offline, and on a MacBook Air one image takes about 12 to 58 seconds. The scene has true scale and can look life-size in VR headsets. It works best with simple subjects, such as an object on a table. Busy scenes produce floating layers, and big changes in viewing angle aren't possible. It's a research model, not a finished product, and is better for viewing than for 3D printing.
Who is it worth it for?
For the curious with some terminal experience, 3D hobbyists and VR fans who want to experience old photos in 3D. If you need 3D models for printing or wide camera moves, this isn't for you.
Ideas: What you can do with it
Turn a favorite photo into a splat scene and view it in your browser or life-size in a VR headset.
Photograph an object and export an HTML viewer that you can send as a single file.
Like one developer at 80 Level: use splats as the basis for particle generators and dreamlike visuals.
See what Gaussian splatting looks like without the photogrammetry effort, before you move on to tools for Unreal or Cinema 4D.
What your computer needs
There is one model checkpoint (about 2.62 GB), which downloads automatically on the first run. A Mac with Apple Silicon is enough. Alternatively, use Linux, with an Nvidia GPU for video rendering.
- Apple Silicon uses the GPU automatically via Metal (MPS); tested on an M5 MacBook Air.
- Model download is about 2.62 GB, and each output file is about 66 MB.
- Video rendering (--render) requires CUDA per the README, meaning an Nvidia GPU.
- Apple documents Mac and Linux; Windows also works according to the source but isn't documented.
How do I find out what my computer has?
- Windows: Press Ctrl + Shift + Esc → Task Manager → Performance tab → click GPU on the left. At the bottom you'll see Dedicated GPU memory (that's your VRAM). You'll find system memory under Memory.
- Mac: Apple menu at the top left → About This Mac. You'll see your chip (e.g. M2) and memory (e.g. 16 GB). On Apple chips, graphics and processor share this memory.
- Linux: Type
nvidia-smiin the terminal (shows your graphics card and its memory) andfree -hfor system memory.
Guide
Google Colab (in your browser, no installation)
Google Colab is a free service from Google. It gives you a computer with a graphics card in your browser for a few hours. All you need is a Google account. For this model: runs for free – The free Tesla T4 GPU with 15 GB is enough.
- Download the notebook. Click the button and save the file.
- Open Colab. Go to colab.research.google.com and sign in with your Google account.
- Upload the notebook. In the window that appears, click Upload on the left (or choose File → Upload notebook at the top) and select the file
colab.ipynb. - Turn on the GPU. In the top menu, go to Runtime → Change runtime type → under Hardware accelerator, select T4 GPU → Save.
- Start everything. Runtime → Run all (keyboard shortcut Ctrl + F9). If you see the warning “This notebook was not authored by Google,” click Run anyway.
- Wait. The cells run one after another. A green checkmark appears to the left of each cell when it's done. Installation and download take about 4 minutes here.
- Try it out. The result appears below the last cell. To test something else, change the text in the cell and run it again with Shift + Enter.
- Clean up. When you're done: Runtime → Disconnect and delete runtime. This saves your free quota.
Good to know: The free GPU is limited (usually a few hours per day). After about 90 minutes of inactivity, Colab disconnects, and you'll have to start everything over.
Windows 10 / 11
This model runs on Python. Our script handles the setup automatically: it creates an isolated Python environment, installs the required packages (PyTorch, approx. 3 GB) and downloads the model (0.3 GB (about 1 min at 100 Mbit/s)).
- Update your graphics driver (NVIDIA): install the latest driver. Without an NVIDIA card, it runs on the CPU – much more slowly.
- Install Python. Download Python 3.12 from python.org and run the installer. Important: At the bottom of the first window, tick Add python.exe to PATH, then click Install Now.
- Create a folder and download the files. Create a folder, e.g.
Documents\AI-Test, and save both files into it: - Open a terminal in the folder. Open the folder in File Explorer, right-click an empty spot → Open in Terminal.
- Run it. Paste this command and press Enter:
Installation and download are running now. The first time, this can take 10–30 minutes.powershell -ExecutionPolicy Bypass -File try_windows.ps1 - Result. The window shows the model's answer to a test question.
- Try your own input: Open
demo.pyin an editor, change the sample text, and save. Then run this in the terminal:.\.venv-sharp\Scripts\Activate.ps1 python demo.py
macOS
Macs with an Apple chip (M1 to M5) are ideal. Older Intel Macs are very slow.
- Open Terminal. Press Cmd + Space, type Terminal, and press Enter.
- Install the developer tools (first time only; includes Python):
Click Install in the window. If you see "already installed," everything is already in place.xcode-select --install - Download the files – both end up in your Downloads folder:
- Run it:
The first time, installation and download take 10–30 minutes.cd ~/Downloads bash try_mac.sh - Result. The window shows the model's answer to a test question.
Linux
- Check your GPU.
nvidia-smishould show your card. If it doesn't, install the driver on Ubuntu and restart:sudo ubuntu-drivers install - Install the Python basics (Ubuntu/Debian):
sudo apt update && sudo apt install -y python3-venv python3-pip git - Put the files in a folder and open a terminal there:
- Run it:
bash try_linux.sh - Result. The window shows the model's answer to a test question.
Try it
sharp predict -i ~/sharp-in -o ~/sharp-outUse a photo of your toy or a mug on your desk as a test imageConvert a portrait with a calm background and rotate it in SuperSplatPut several photos in a folder and process them as a batch in one runTips for better results
- Pick photos with a simple main subject and clear depth.
- Use original files with EXIF data; HEIC from an iPhone works directly.
- Process several images as a batch, since the model only loads once.
- For sharing, export an HTML viewer package or compressed PLY from SuperSplat; it's much smaller than 66 MB.
If something goes wrong
Python 3.13 is required per the README; use a dedicated conda environment.
If conda throws a Terms of Service error, `conda tos accept` helps; then repeat the command.
`pip install -r requirements.txt` must be run inside the ml-sharp folder, otherwise the `sharp` command won't be installed.
Scenes can appear upside down in other viewers (y-down); SuperSplat 3.7.0 corrects this automatically.
Missing EXIF data leads to an assumed 30 mm focal length; originals are better than copies.
“out of memory,” a crash, or your computer freezes
The model is too big for your VRAM (video memory). Pick a smaller variant from the table above and close other programs, especially games and browsers with lots of tabs.
It runs, but extremely slowly
Your CPU is probably doing the work instead of your graphics card. In Ollama, the PROCESSOR column of ollama ps shows how much runs on the GPU. If it says "100% CPU", update your graphics driver or pick a smaller variant that fits entirely into VRAM (video memory).
“ollama” or “python” is not found
Close the terminal window and open it again so it recognizes the newly installed program. For Python on Windows: reinstall it and check Add python.exe to PATH.
Windows: "Running scripts is disabled on this system"
Run the script with exactly the command above: powershell -ExecutionPolicy Bypass -File try_windows.ps1. This allows execution for this one time only.
Error message when loading the model (version, "trust_remote_code", unknown architecture)
Brand-new models often need the latest software version. With Ollama: update Ollama. With Python: pip install -U transformers in the activated environment. The Model Card usually lists the exact version.
Tokenstrom generates the scripts and notebook automatically. Please take a quick look before running them – they're plain, readable text. Mind the model's license: custom license (see Model Card).
Ask the AI assistant
Questions about this article, installation or background? Our assistant knows this page and runs on our own machine, not in someone else's cloud.
The Assistant is an AI (Gemma 4) and can make mistakes – please check important details against the source. Questions are used only to generate an answer and are deleted after one hour. Please don't enter any personal data.
Comments
What do you think? Already tried it? Write it here, no sign-up needed.
Comments are public. Links aren't allowed, and we delete abusive posts. You can delete your own comment at any time in this browser. Learn more in the Privacy Policy.